
Using Reaper and Yamaha EMX7
Setup
- Connect the Focusrite to the computer. Since it receives power via USB connection, make sure the USB port
supports this.
- Open the eq-visualizer Reaper file.
- Press CTRL + P to open Preferences.
- Make sure Audio System is set to ASIO.
- Set ASIO Driver to Focusrite USB ASIO.
- Default inputs and outputs should automatically update to their correct values.
- Close Preferences.
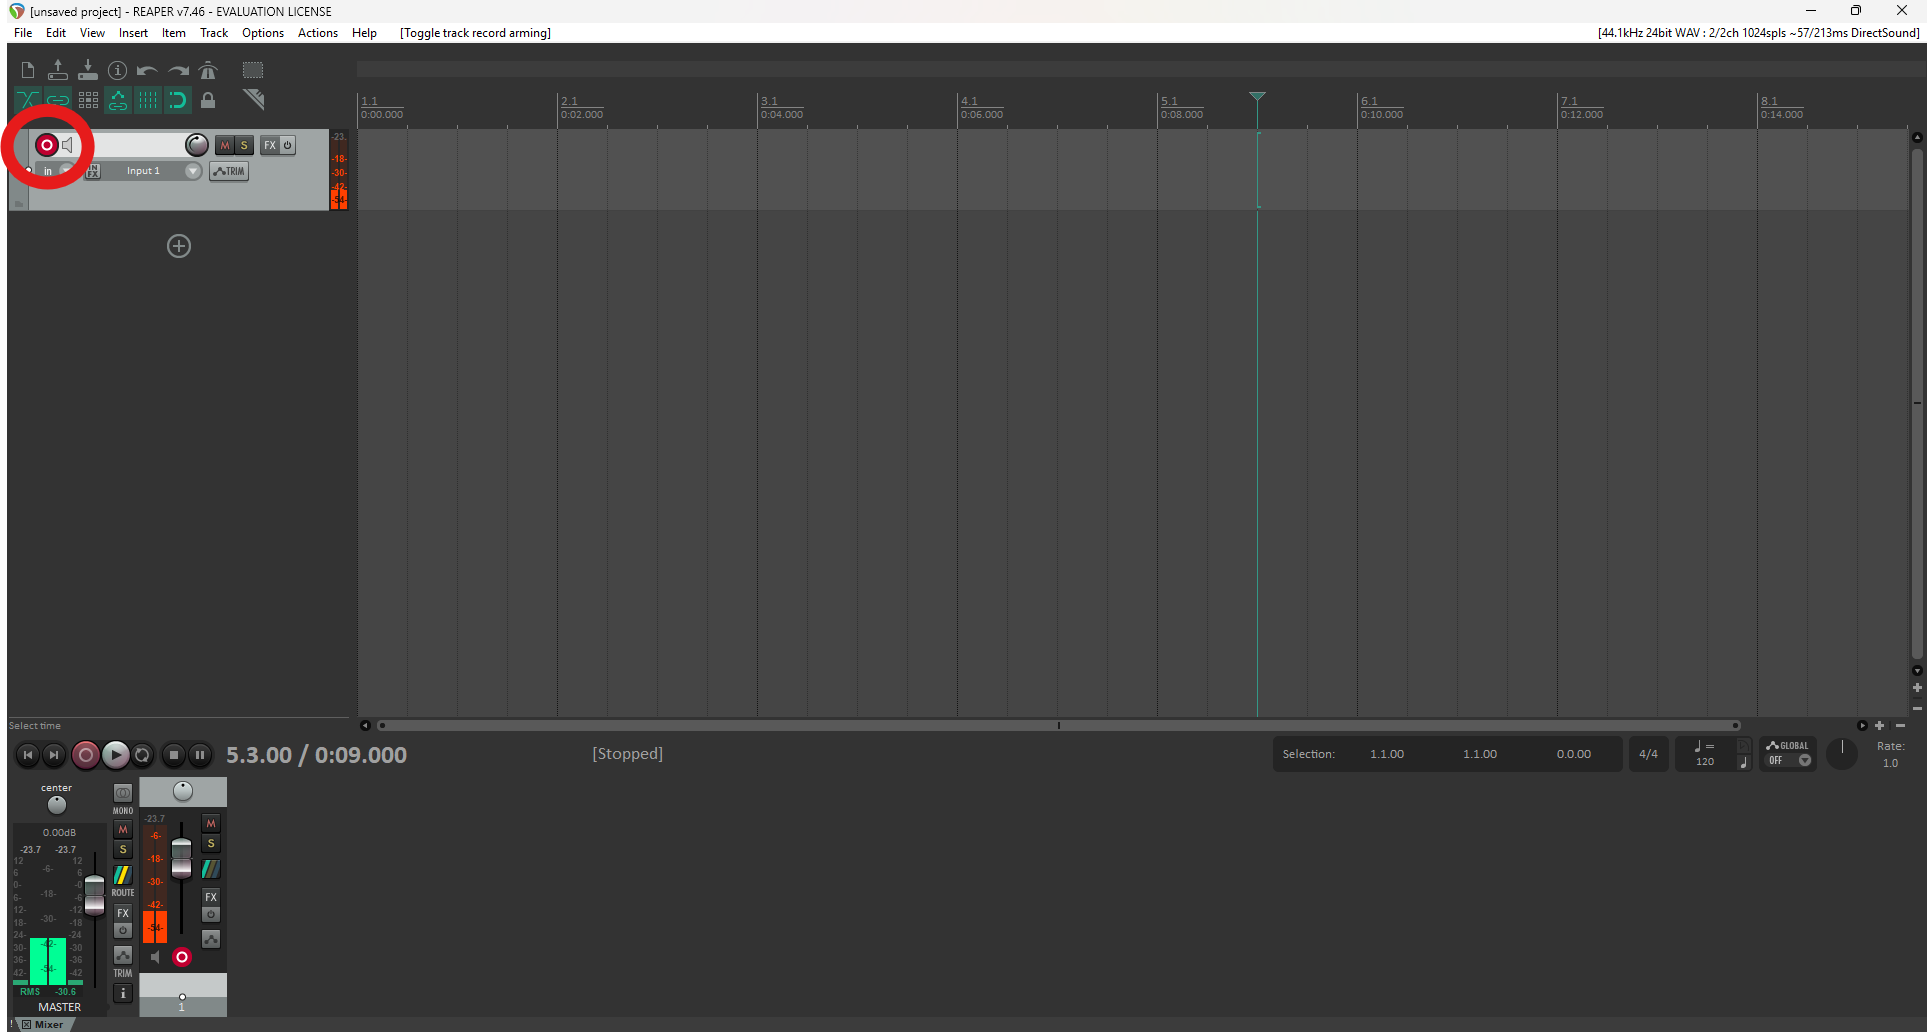
- Click the arm/monitor button (red circle) so you can see the audio signal on the meters.
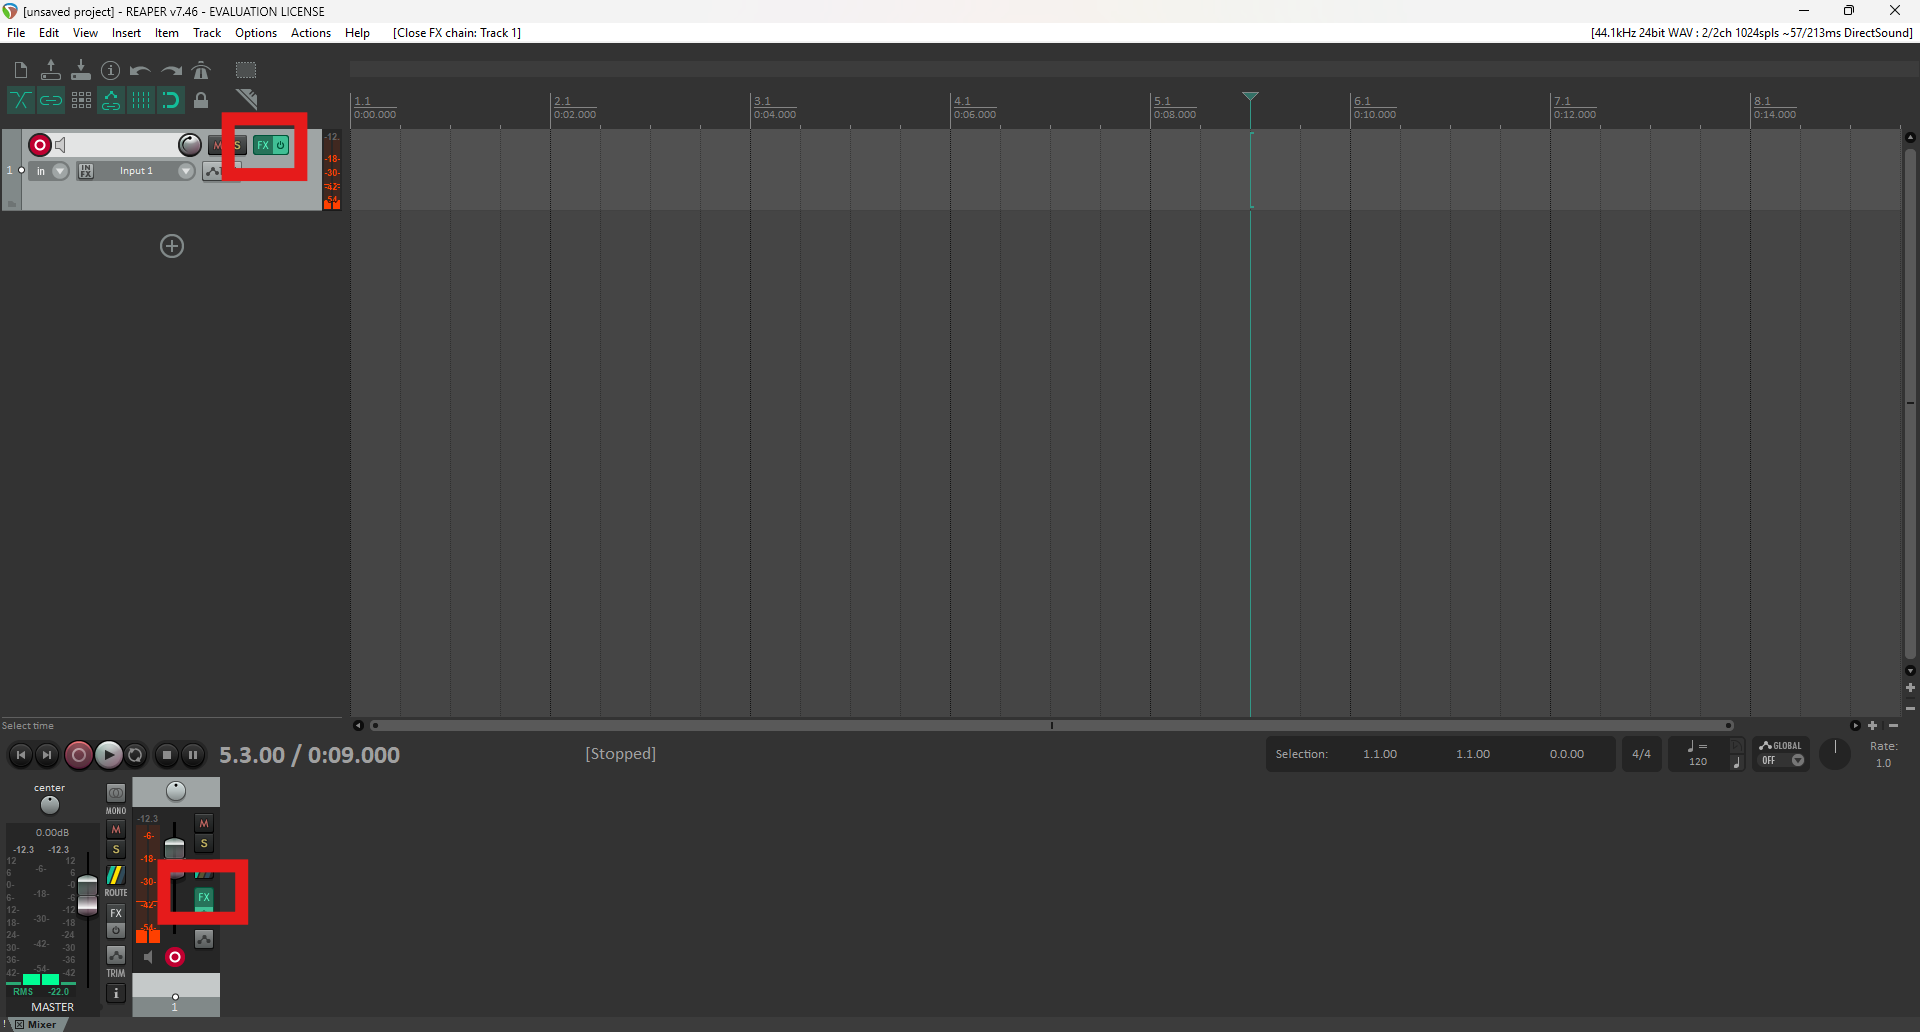
- Click the FX button to open the FX window. Either of these buttons can be used,you see the
button in 2 places because 2 different views are open.
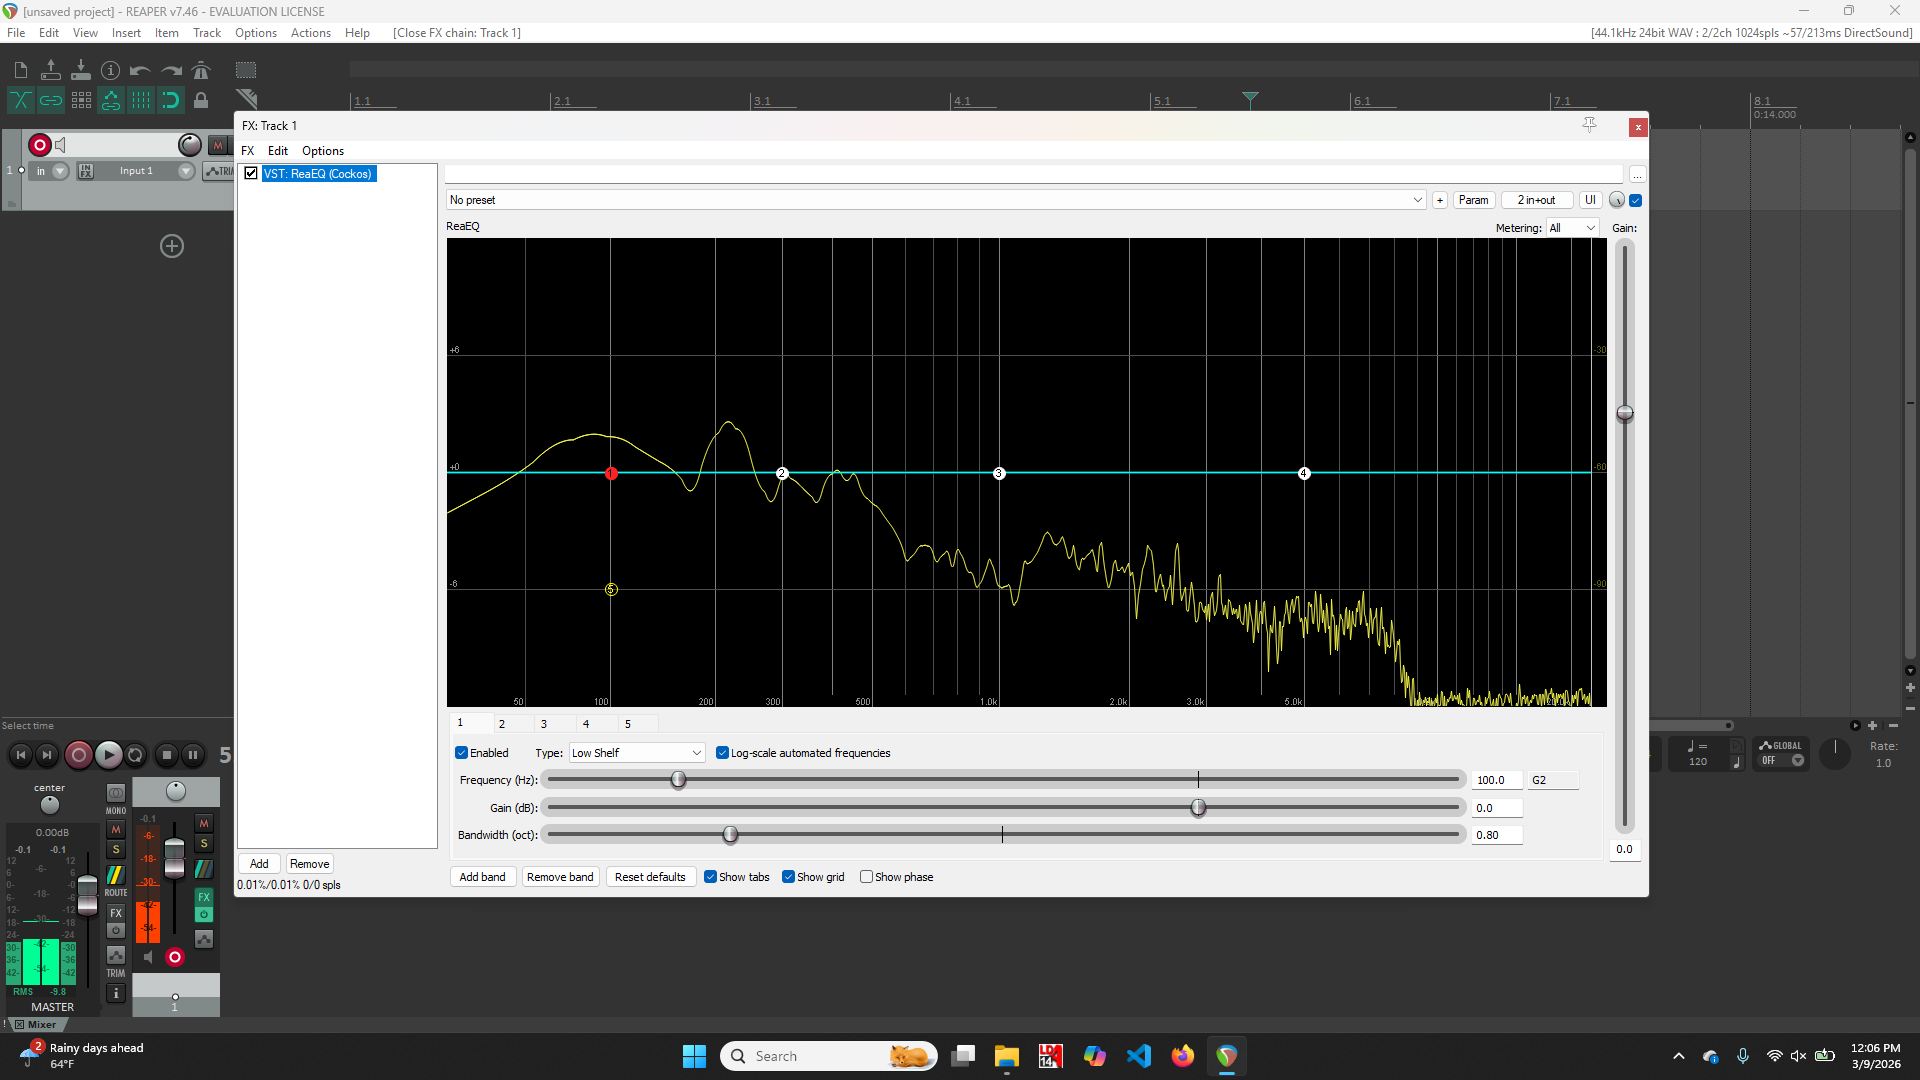
- You should see this spectrograph which lets you see the frequency spectrum of the output of themixer.
Initial Yamaha Mixer Settings
Resetting the knobs per channel
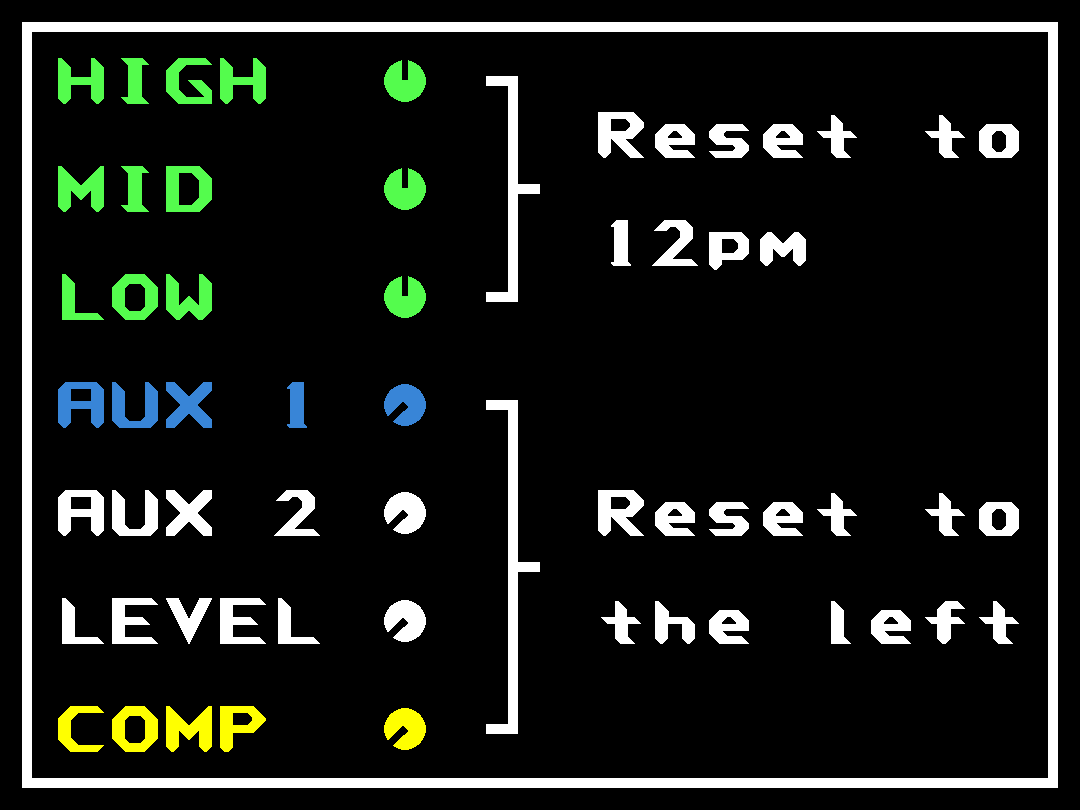
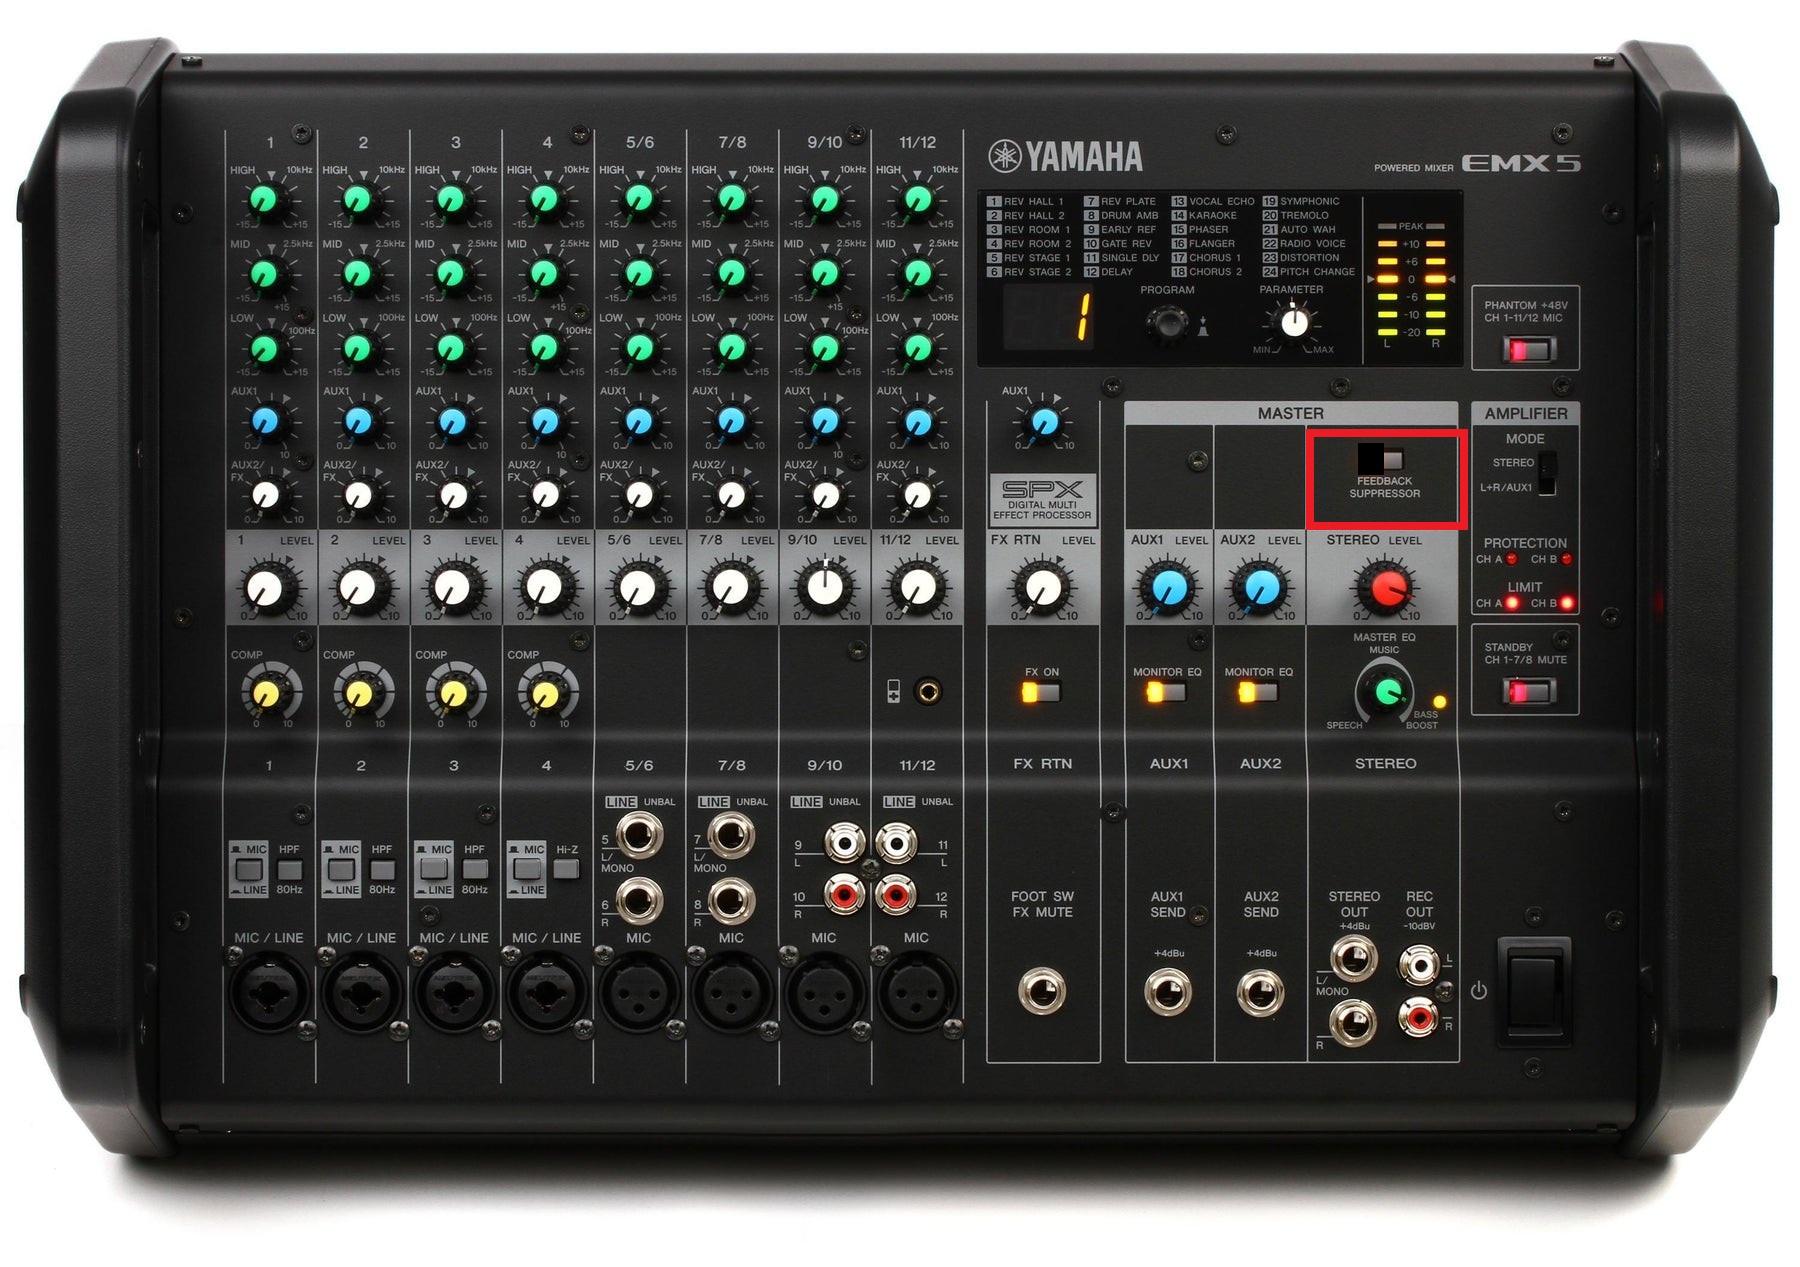
- Make sure the red master knob is all the way down.

- Turn off the feedback suppressor for testing. The last thing we do will be turning this back on to
catchanything our manual settings miss.
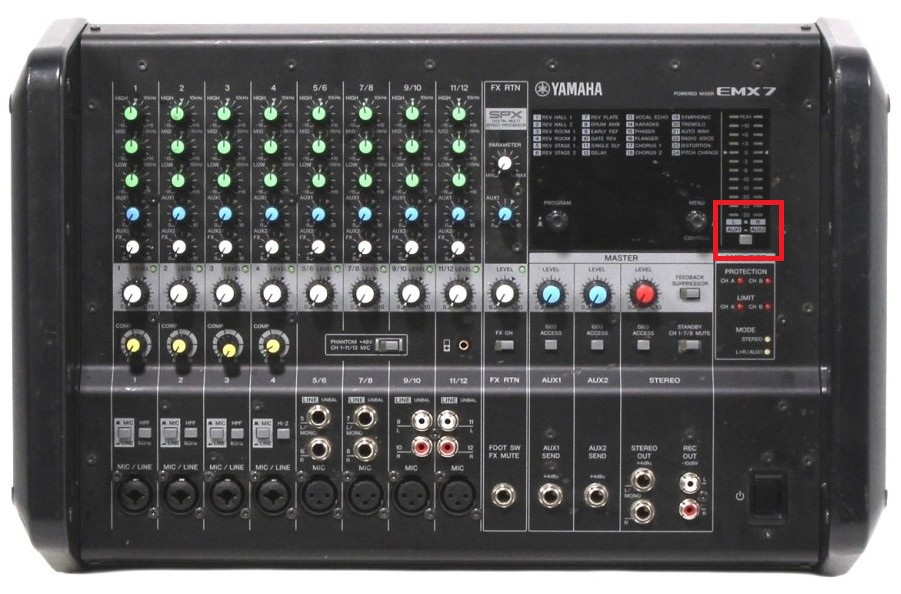
- In the level meter section, set the button so meters monitor LR output (button raised), not Aux output.
Connecting the Mixer to Other Gear
- Before connecting speakers, confirm audio is reaching the interface and Reaper. Speak into a mic and turn up
the channel level knob until the green LED lights on input. Then turn up the red master level and confirm LR
LEDs show output (with LR meter mode selected).
- Connect the NL4 outputs to the speakers.
Now do the test
- Use the reference video you took or call Addison, I think putting this part into text would over complicate
it.
- After manual testing is finished, turn the feedback suppressor back on to catch anything our manual settings
might have missed.